
Now Reading: Getting Started with ESP32 DOIT DevKit v1 – Complete Beginner’s Guide
-
01
Getting Started with ESP32 DOIT DevKit v1 – Complete Beginner’s Guide


Introduction
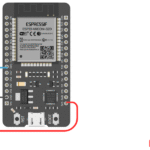
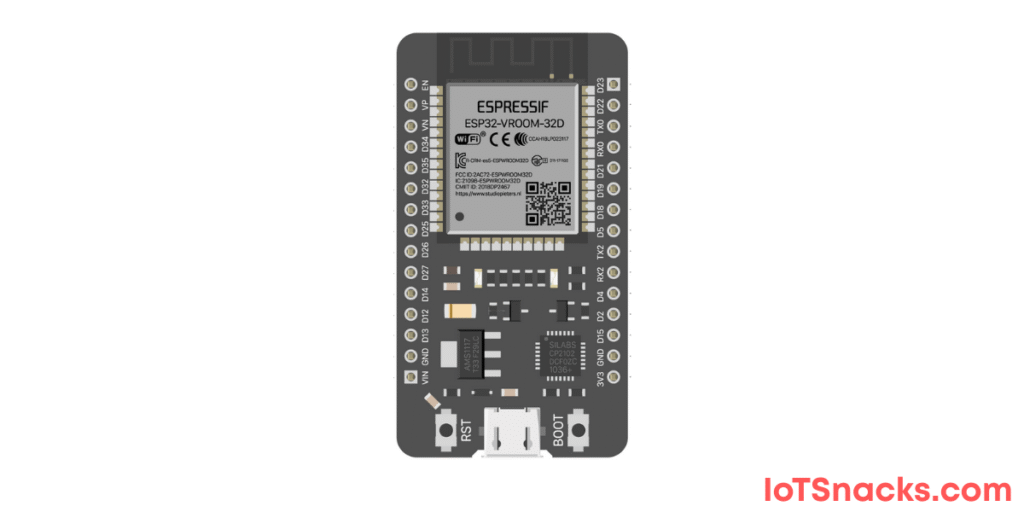
The ESP32 DOIT DevKit v1 is one of the most popular development boards for IoT and embedded systems projects. It’s a powerful microcontroller that comes with Wi-Fi and Bluetooth built-in, making it perfect for smart devices, automation, and sensor-based applications.
In this tutorial, we’ll set up the ESP32 for programming using the Arduino IDE, explore its features, and review the pin mapping we’ll use throughout this tutorial series.
By the end, you’ll have your ESP32 ready for coding and understand which pins are assigned to different sensors and modules for hands-on projects.
Features of ESP32 DOIT DevKit v1
- Dual-core 32-bit processor (up to 240 MHz)
- Built-in Wi-Fi and Bluetooth (Classic + BLE)
- 30+ GPIO pins (digital, analog, PWM, I²C, SPI, UART, etc.)
- Multiple ADC channels (12-bit resolution)
- Built-in capacitive touch support
- Power supply: 3.3V (but USB can power it via 5V regulator)
- Compatible with Arduino IDE, MicroPython, and PlatformIO
Step 1: Install Arduino IDE and ESP32 Board Support
- Download and install the latest Arduino IDE from arduino Website
- Open Arduino IDE → File → Preferences.
- In “Additional Board Manager URLs”, paste this link:
https://dl.espressif.com/dl/package_esp32_index.json- Go to Tools → Board → Board Manager → search for ESP32 and install it.
Step 2: Select ESP32 DOIT DevKit v1 Board
- Go to Tools → Board → ESP32 Arduino → DOIT ESP32 DEVKIT V1
- Select the right Port (COM port where ESP32 is connected).
Step 3: Test with Blink Example
Upload the basic Blink sketch to test if your ESP32 is working.
// Blink test for ESP32 DOIT DevKit v1
int ledPin = 2;  // Onboard LED (GPIO2)

void setup() {
  pinMode(ledPin, OUTPUT);
}

void loop() {
  digitalWrite(ledPin, HIGH);
  delay(1000);
  digitalWrite(ledPin, LOW);
  delay(1000);
}
✅ If the onboard LED blinks, your ESP32 is set up correctly.
Pin Mapping for This Tutorial Series
We’ll follow this fixed pin assignment for all upcoming tutorials in this series:
| Component | ESP32 Pin |
|---|---|
| Push Button | GPIO 5 |
| LDR | GPIO 35 |
| LED | GPIO 12 |
| RGB LED (R,G,B) | GPIO 13, 14, 27 |
| Potentiometer | GPIO 34 |
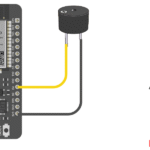
| Buzzer | GPIO 4 |
| LCD (I2C) | SDA = GPIO 21, SCL = GPIO 22 |
| GPS (NEO-6M) | TX=GPIO17, RX=GPIO16 |
| HC-SR04 | TRIG=GPIO15, ECHO=GPIO2 |
| DS18B20 | GPIO 26 |
| DHT22 | GPIO 25 |
| MQ-2 | GPIO 33 |
| Soil Moisture | GPIO 32 |
| PIR Motion Sensor | GPIO 18 |
| SG90 Servo | GPIO 19 |
| Relay | GPIO 23 |
Real-Life Applications of ESP32
- Smart Home Automation (Wi-Fi control of appliances, sensors)
- Agriculture IoT (soil moisture, temperature, weather data collection)
- Robotics (autonomous navigation with sensors like HC-SR04)
- Health Monitoring Systems (IoT-enabled temperature & humidity tracking)
- Industrial IoT (monitoring warehouses, controlling machines)
Troubleshooting
| Problem | Cause | Solution |
|---|---|---|
| ESP32 not detected | Missing drivers | Install CP2102/CH340 drivers |
| Upload error | Wrong board/port selected | Select “DOIT ESP32 DEVKIT V1” |
| Boot error | Not in flashing mode | Hold BOOT button while uploading |
| Serial Monitor shows garbage | Wrong baud rate | Use 115200 baud |
What is the difference between ESP8266 and ESP32?
ESP32 is more powerful, has dual-core processing, more GPIOs, Bluetooth support, and better performance than ESP8266.
Which programming languages can I use for ESP32?
You can use Arduino (C/C++), MicroPython, and ESP-IDF (native SDK in C).
Can ESP32 run on 5V?
ESP32 itself runs on 3.3V, but the board has a regulator, so you can power it with 5V via USB or Vin pin.
How do I connect ESP32 to Wi-Fi?
Use the Wi-Fi library in Arduino IDE and provide your SSID and Password to connect.
Can I use ESP32 for IoT cloud projects?
Yes! ESP32 works with Blynk, ThingSpeak, MQTT, Firebase, and Arduino IoT Cloud.